
Documentation Index
Fetch the complete documentation index at: https://docs.taqriry.ai/llms.txt
Use this file to discover all available pages before exploring further.
How to Remove the AI Agent from Calls
Learn how to remove the AI agent from ongoing or scheduled meetings.Removing from Live Meetings
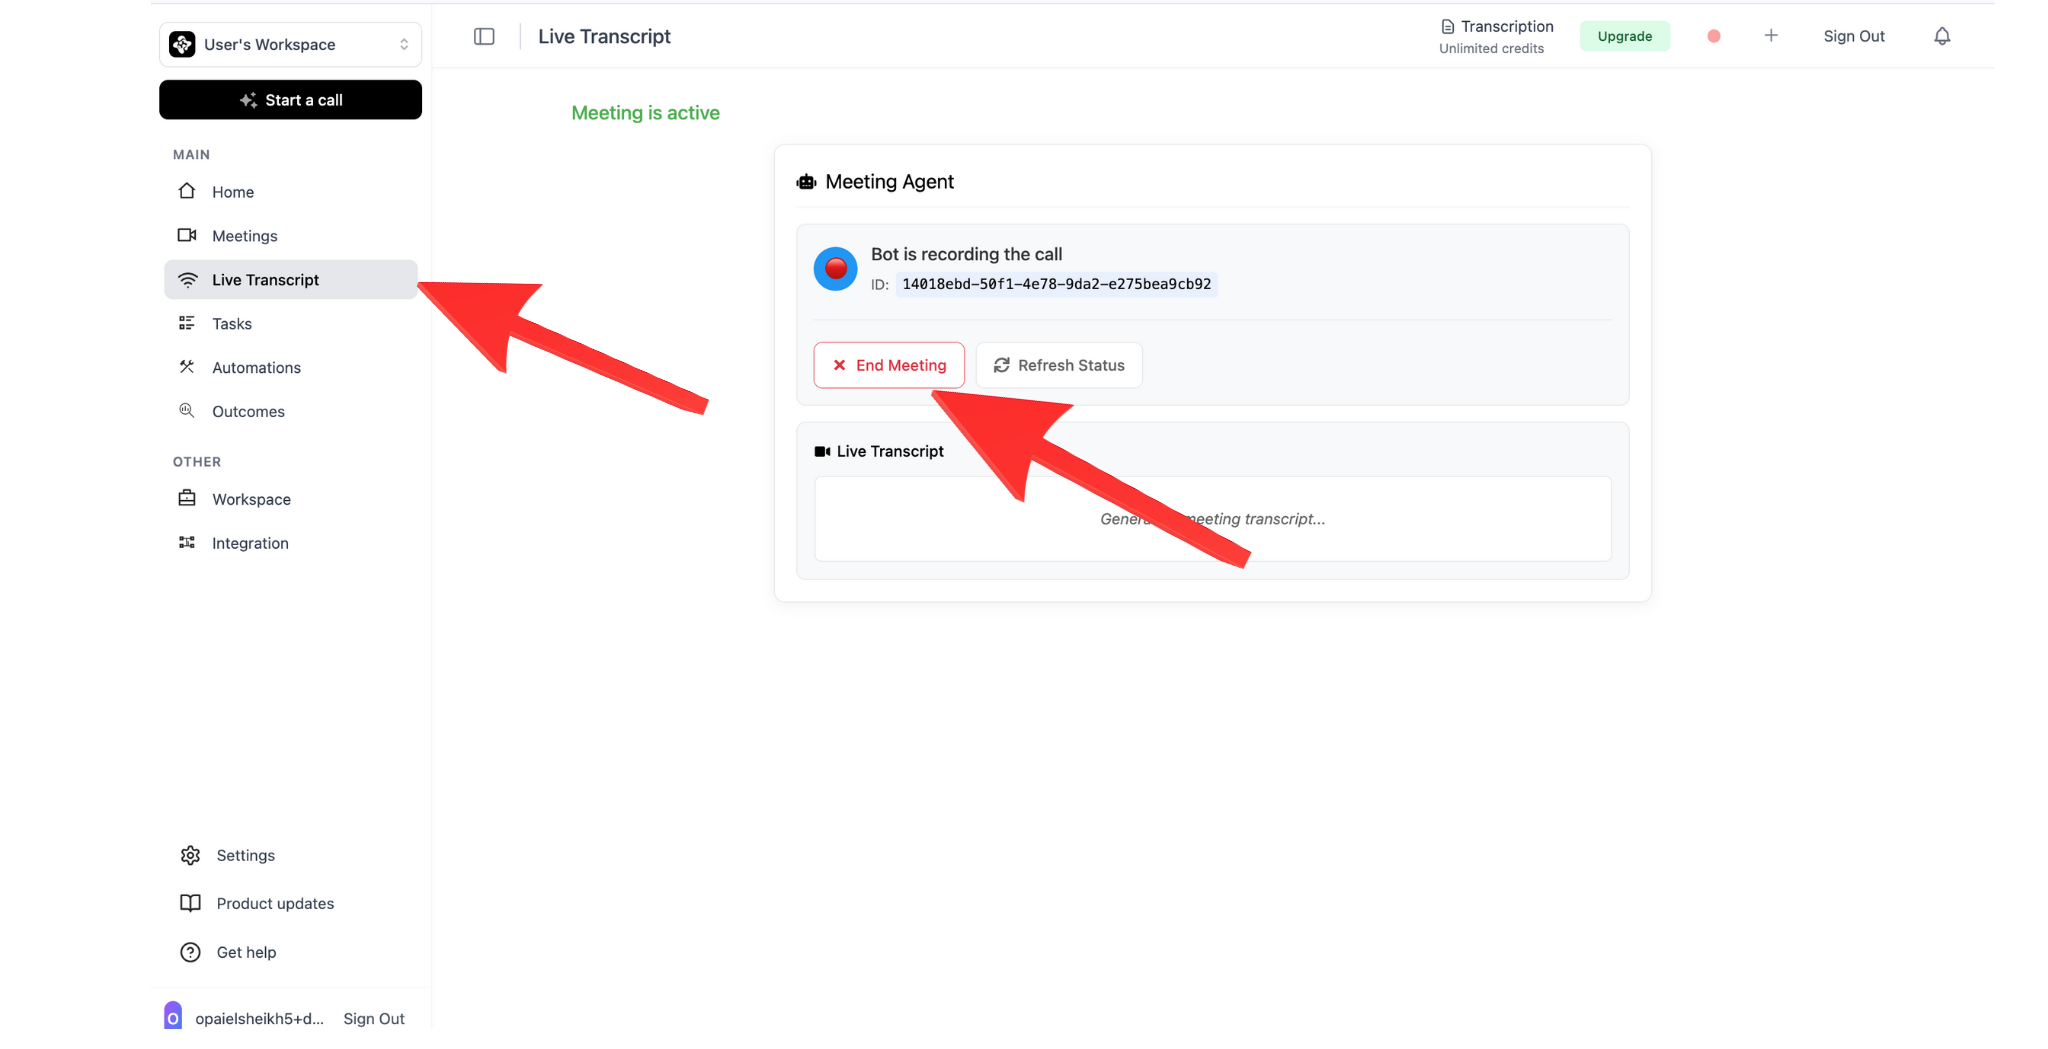
Method 1: Through Dashboard
The quickest way to remove the agent during a live call:- Open your dashboard
- Navigate to “Active Meetings”
- Find the current meeting
- Click “Remove Agent” or “End Session”
- Confirm the action
Method 2: In-Meeting Command
Some platforms support in-meeting commands:Zoom
- Open the participants panel
- Find the AI agent
- Click “Remove” or “Remove Participant”
Google Meet
- Click on the participants icon
- Hover over the AI agent
- Click the three-dot menu
- Select “Remove from call”
Microsoft Teams
- Open participants panel
- Right-click on the AI agent
- Select “Remove from meeting”
Method 3: Voice Command
If voice commands are enabled:Canceling Scheduled Meetings
Before the Meeting Starts
Through Dashboard
- Go to “Upcoming Meetings”
- Select the meeting you want to cancel
- Click “Cancel Agent Attendance”
- Confirm cancellation
Through Calendar
- Open your calendar
- Edit the meeting
- Remove the AI agent from participants
- Save changes
The meeting itself remains scheduled; only the AI agent is removed.
Bulk Cancellation
To remove the agent from multiple meetings:- Dashboard → Meetings → Scheduled
- Click “Bulk Actions”
- Select meetings to cancel
- Choose “Remove Agent”
- Confirm bulk cancellation
Disable Auto-Join
To prevent the agent from automatically joining future meetings:Temporarily Disable
- Settings → Calendar Integration
- Toggle “Auto-Join” to OFF
- Set duration (until specific date or indefinitely)
- Save changes
For Specific Calendar
Disable auto-join for a particular calendar:- Settings → Calendar Integration
- Find the calendar
- Click settings icon
- Disable “Auto-Join for this calendar”
- Save
Using Do Not Disturb
Enable Do Not Disturb mode to prevent all auto-joins:- Click your profile icon
- Select “Do Not Disturb”
- Choose duration:
- 1 hour
- 4 hours
- Until tomorrow
- Custom
- Confirm
During Do Not Disturb, the agent won’t auto-join any meetings, but you can still manually add it.
Emergency Stop
For immediate removal with data preservation:Pause and Remove
- Dashboard → Active Meetings
- Click “Emergency Stop”
- Choose action:
- Save and Exit (recommended)
- Exit Without Saving
- Cancel
- Confirm
What Happens When Agent is Removed?
Data Preservation
When properly removed, the AI agent will:- ✅ Save all recorded content up to that point
- ✅ Generate a partial transcript
- ✅ Create a summary of the session so far
- ✅ Store action items identified before removal
- ✅ Send notifications (if enabled)
Notifications
Depending on your settings:- Meeting host receives removal confirmation
- Participants may be notified (optional)
- Summary email includes note about early termination
- Dashboard shows status as “Ended Early”
Preventing Accidental Joins
Exclude Specific Meeting Types
Set rules to prevent auto-join:- Settings → Auto-Join Rules
- Add exclusion rule:
- Meetings with certain keywords (e.g., “Personal”, “Private”)
- Specific time ranges
- Meetings with fewer than X participants
- One-on-one meetings
- Save rules
Private Meeting Tags
Mark meetings as private:In Calendar
Add#private or [Private] to meeting title
In Dashboard
When scheduling, check “Private Meeting” optionTroubleshooting
Agent won't leave the meeting
Agent won't leave the meeting
Try these steps:
- Refresh your dashboard
- Try removing again
- Use platform-specific removal (Zoom/Meet/Teams)
- Contact support if issue persists
Agent rejoined after removal
Agent rejoined after removal
Possible causes:
- Auto-join is still enabled
- Agent was manually re-invited
- Recurring meeting settings
- Disable auto-join for this meeting
- Remove from calendar completely
- Update recurring meeting settings
Recording lost after removal
Recording lost after removal
Check these locations:
- Dashboard → Past Meetings
- Email for partial summary
- Backup storage (if enabled)
Can't cancel scheduled meeting
Can't cancel scheduled meeting
Verify:
- You have permission to modify the meeting
- Meeting hasn’t already started
- Calendar integration is active
Best Practices
Use Pause First
Consider pausing instead of removing for temporary breaks
Communicate
Inform participants before removing the agent
Save Data
Always choose “Save and Exit” unless there’s a privacy concern
Review Settings
Configure auto-join rules to prevent unwanted joins
Privacy Considerations
Sensitive Discussions
If your meeting enters a sensitive topic:- Quickly remove the agent using dashboard
- Or use voice command for faster removal
- Data is automatically deleted if configured in privacy settings
- Resume recording later if needed
Configure Privacy Settings
- Settings → Privacy & Security
- Enable “Quick Delete on Removal” for sensitive meetings
- Set retention policy for partial recordings
- Configure who can remove the agent
Next Steps
Post-Meeting Actions
Learn what happens after meetings
Privacy Settings
Configure privacy and security options